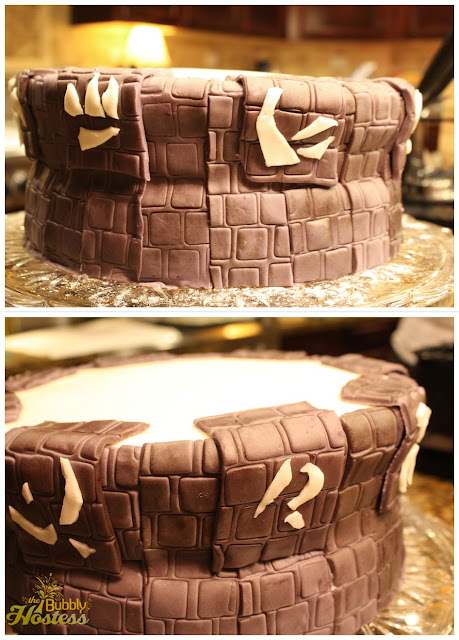
For my son’s 7th birthday this year, we threw him a Skylanders Birthday Party and what took center stage was the Portal of Power Birthday Cake!
 |
| Portal of Power Cake |
I was completely inspired by the cake from Amy’s Party Ideas and when my son saw the picture of her cake, he knew he wanted the same.
This post is to describe the approach I took to assemble this cake. It was much easier than anticipated. I was hesitant to go down the path of fondant again after last year’s Power Rangers Samurai Birthday Cake, but I knew I needed to overcome this fear.
One the day I started, my son brought the real Portal of Power and said “Here is a resource for you, Mommy” – he’s awesome!
The cake itself was a straightforward, store bought, milk chocolate cake. After baking and cooling, I took a serrated bread knife to even out the tops of each cake. I placed the first cake, bottom side down on the cake plate and gave it a basic crumb coat. Oh – and I was using store bought frosting too! I am a fan of the Betty Crocker Whipped products. I also added (what I thought was) a lot of frosting to the top of the first cake, which would eventually become the middle. But – it could have definitely used more.
The next cake went right on top, but this time, the bottom of the cake was on top. I wanted to have the entire cake indent in the middle to give it more of the look of the Portal of Power. A crumb coat topped that cake as well. This sat overnight, sealed, and waiting for fondant.
I learned last year that I will never make a large quantity of fondant again and I found this relatively decent buttercream fondant from Duff. It’s easy to use, colors easily (if needed), and tastes pretty good. I purchased white and before using a small amount of black gel coloring from Wilton to achieve the grey color I needed for the stones. Before doing that, I rolled out a thin circle of plain white to put on top of the cake. I took the reserves from that circle and handed it over to my girlfriend. She used the Portal of Power resource to free hand cut out the various images that are around the Portal.
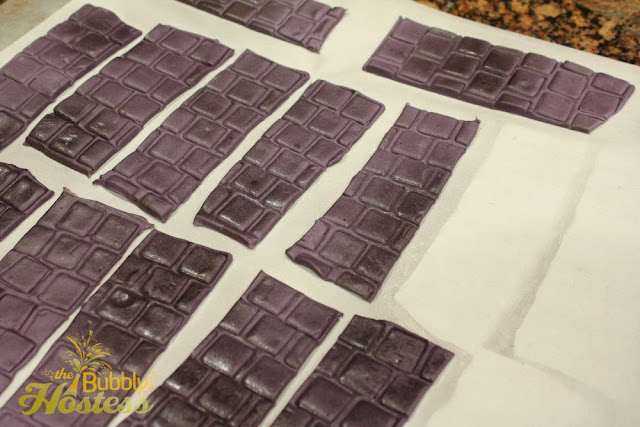
Once that was complete, I rolled out a massive sheet of the grey fondant. With the help of my bestie who was in town for the celebration, we started to create grey rectangles that would go around the entire cake. I measured the length I would need and started cutting the rectangles. These were transferred to a piece of parchment paper where she took the smallest square cutter to make light indentations in the stone. Once we had a large batch, we lightly sprayed them with black Color Mist Food Spray.
At this point, I probably should have added more frosting to the cake, just based upon feedback from the guests. Instead of using that as the “glue”, I simply dabbed on a bit of water to the back of each rectangle and begin going around the cake until it was complete.
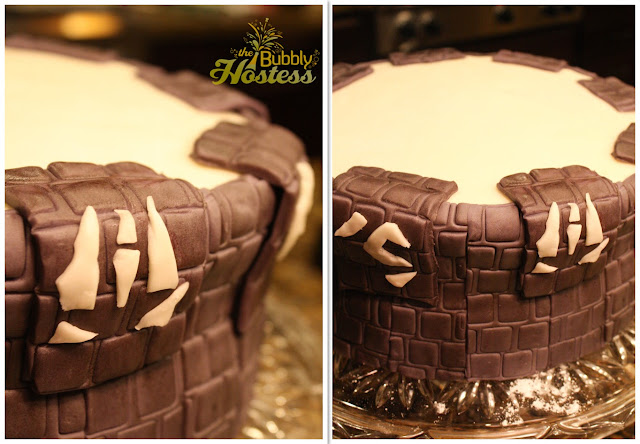
Next I made 8 thicker rectangles to go over the base and slightly further onto the top of the cake.
Lastly, we took our 8 images from the Portal and again using a little bit of water, applied them to the cake.


Comments (2)
I'm totally doing this for my son's Game Truck Party! He's turning 7, too! Thank you so much for the easy directions!!!
I would love to see a photo of the finished product! Cheers!